
Layout all 4 legs of one frame on a
small board...rabbit to rabbit.
(Also layout 4 "thumbnail inserts" for later)

Put glue in the thumbnail grooves and over entire cut surface.
Use a glue that is: 5 min setup
15 min bonding
3 hour cure
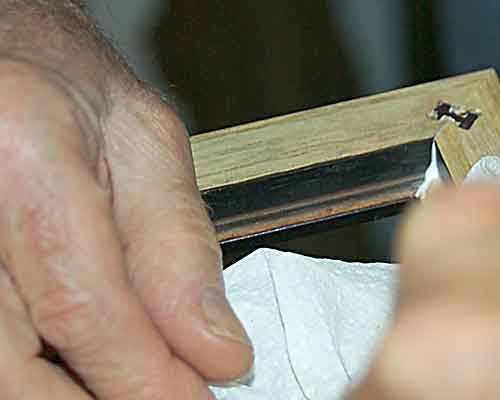
Pick up a pair of legs and rub together to smear glue evenly; set pieces down so they make a frame, rabbit side up. Place the "thumbnail insert" into the groove and...


tap in with a hammer.
All 4 inserts must be in place at the end of 5 minutes from first applying the glue!!
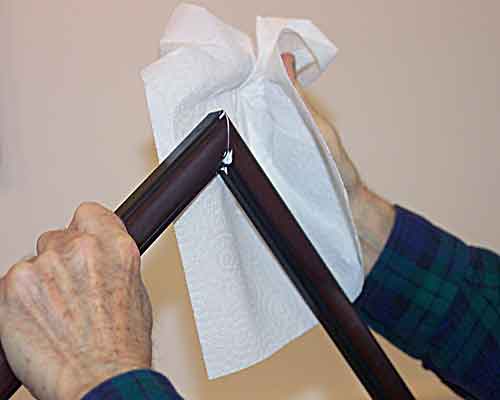
Wipe off any glue that appears to be white globs on the frame
front AND
wipe clean the rabbit. You don't want there to be a dried glob holding the glass from being flat! (screwdriver is a handy tool for precision glue removal)

Cure for 3 hours by laying frame flat. You can lay frames on top of one another. If one doesn't want to lay flat, apply a weight.
GOTO Fill and Sand the Corners-Pt 4