
Start by making a sketch of : the picture size the frame size.
For this 18X22 frame, buy 8' moulding.
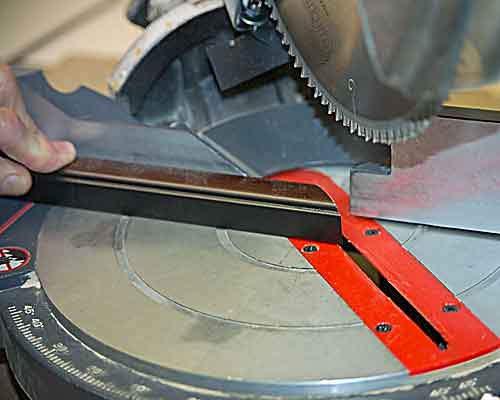
Cut a +45 degree edge on
one end.
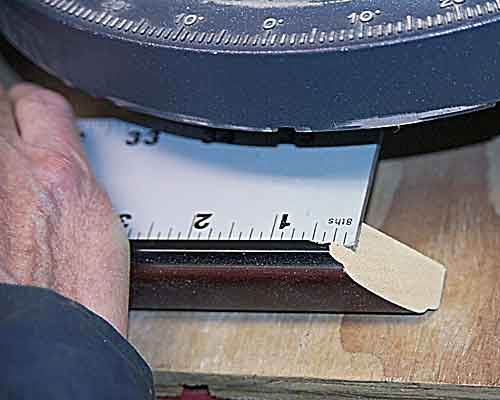
With the rabbit side up, place a ruler on the cut end. Make a mark with a WASHABLE child's marker at 3/16ths past the 18" mark.
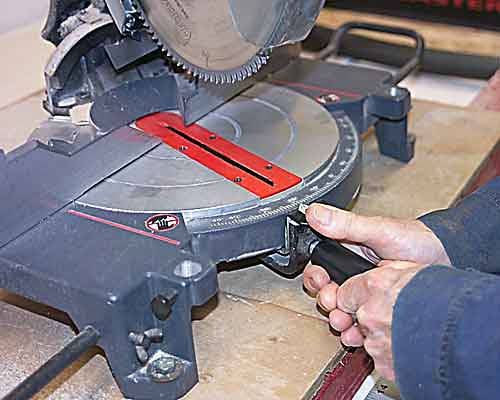
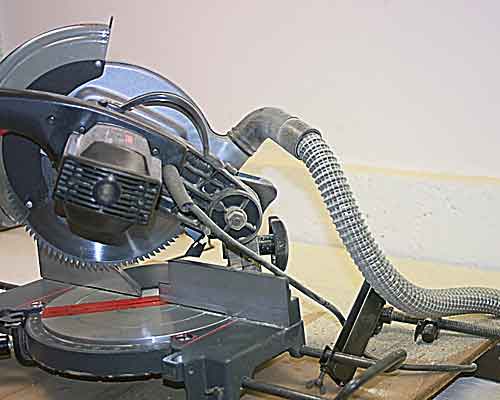
Push the base-handle latch down. Rotate
the saw base to -45 degrees.
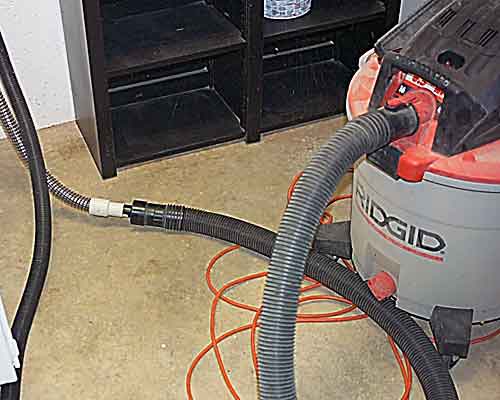
Turn on the Vacuum system which has
been connected to the saw.
Line up the mark---squeeze and pull down the saw-handle to cut
NOW-return to the first end and cut off 1/16th inch! That leaves a length of 18 1/8" for the 18" side. Make 2. Repeat the process with the 22" side. Make 2.