
Place 2 "legs" into the thumbnailer, rabbit side up.

Turn the knob till pressure holds them in place.
Turn the dial on the back to the correct "depth".
(This size wood takes a 2)

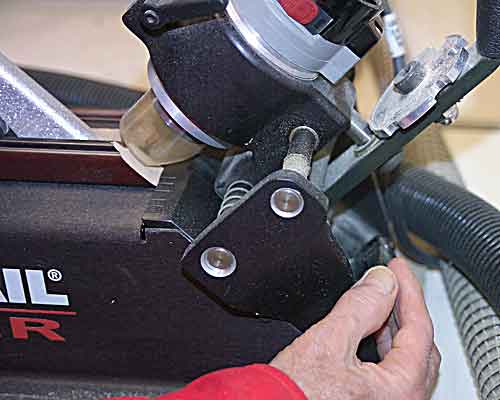
Notice there's a blade inside the plastic cylinder.
Use the handle at the back to place the blade at the
center of the angled part of the "leg".
That will set the "position".
Keep the same Position and depth
for all the legs of the frame !!!!!!!!!!
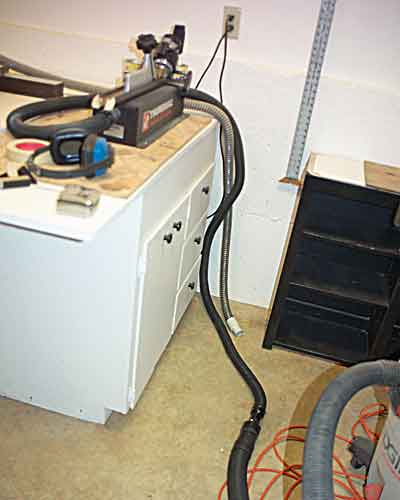
Put the vacuum hose on the tube coming from the thumbnailer.
Put on EAR PROTECTION.
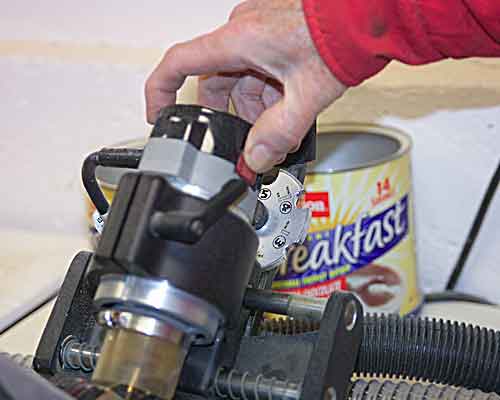
Turn on the thumbnailer switch.
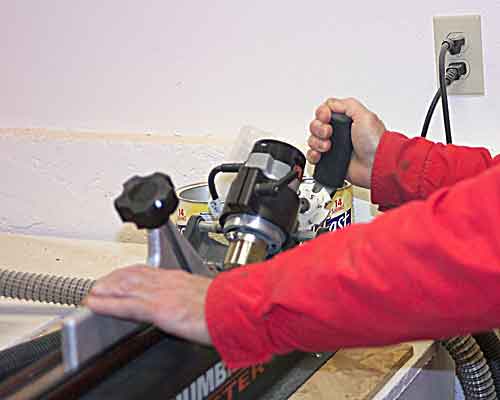
Pull the handle both toward you, then away from you to
make the notches.
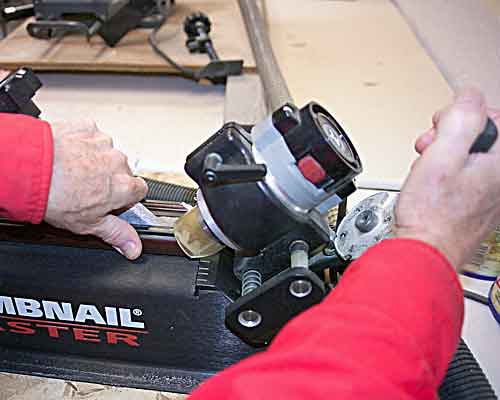
It is wise to hold the 2 "legs" with your left hand so
they don't move.
Loosen the knob. Turn the "legs" end for end and repeat.
Do 2 pair.